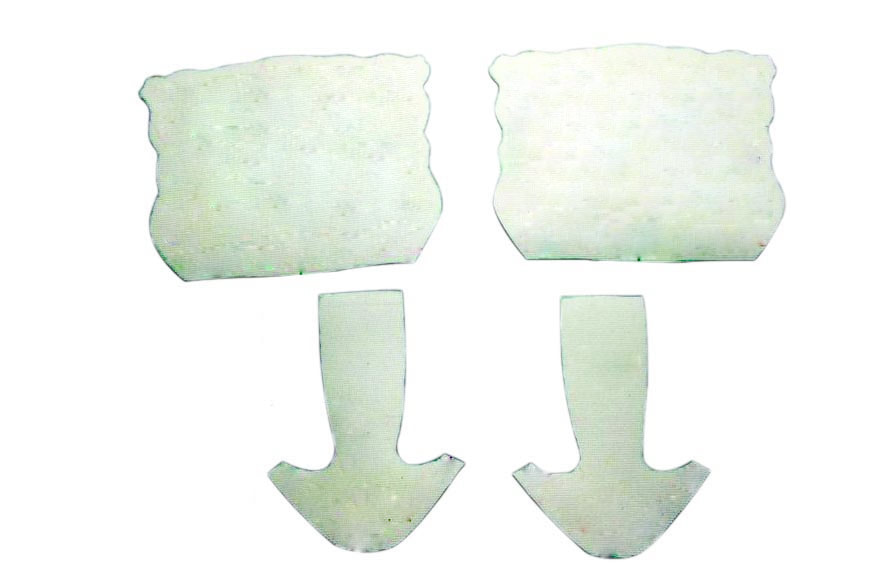
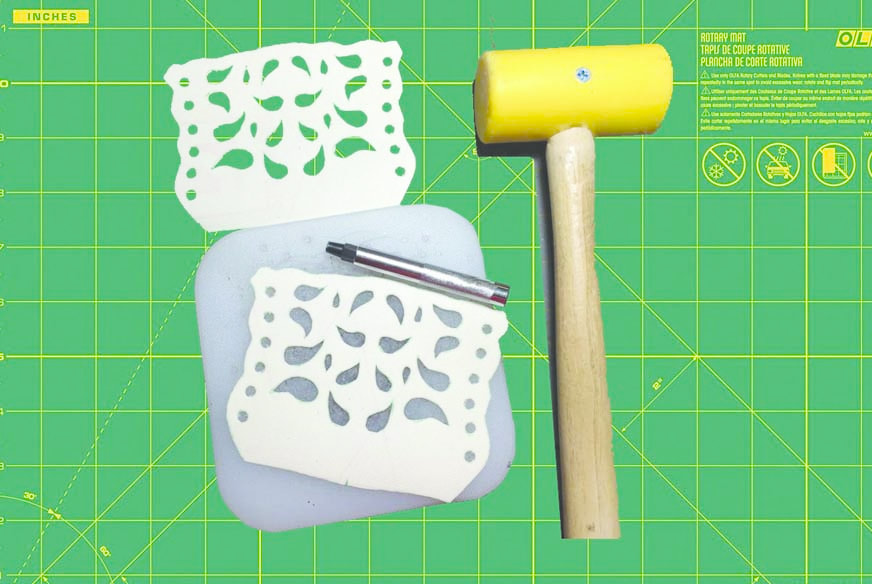
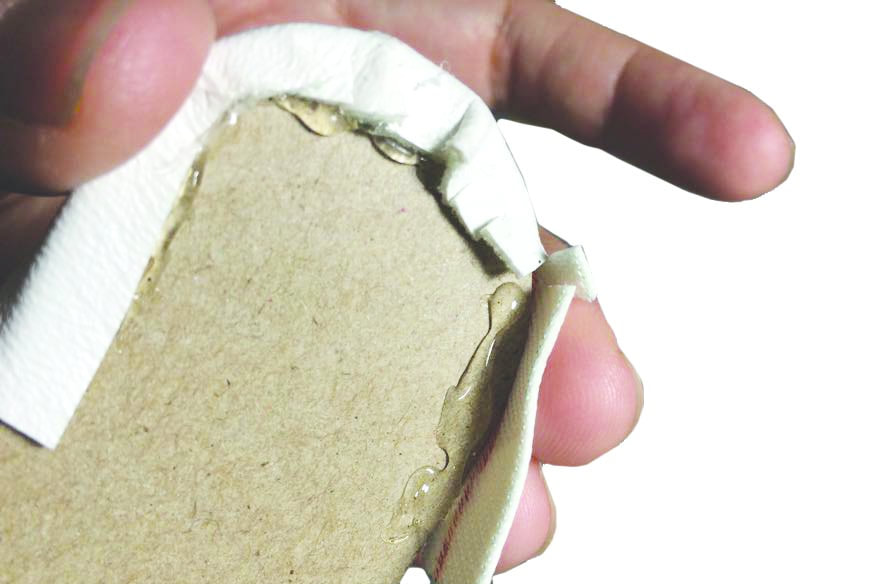
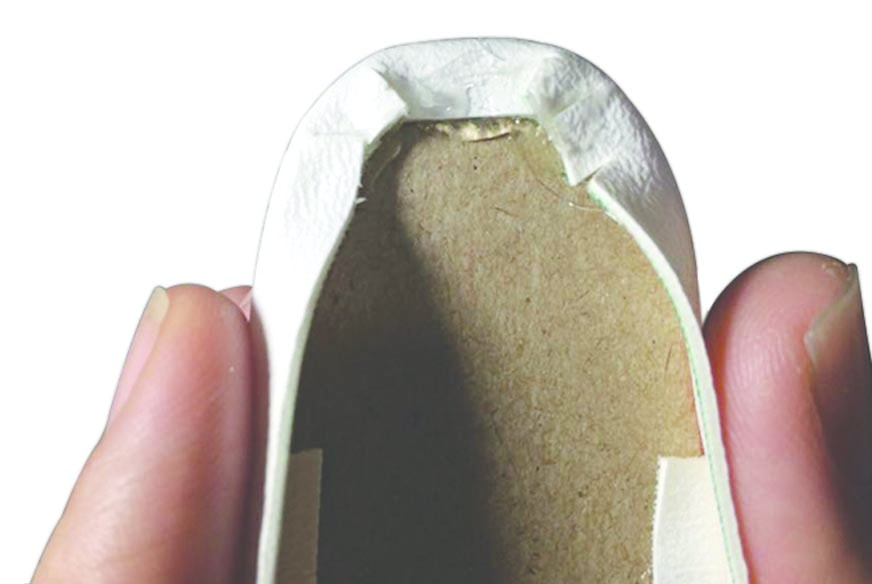
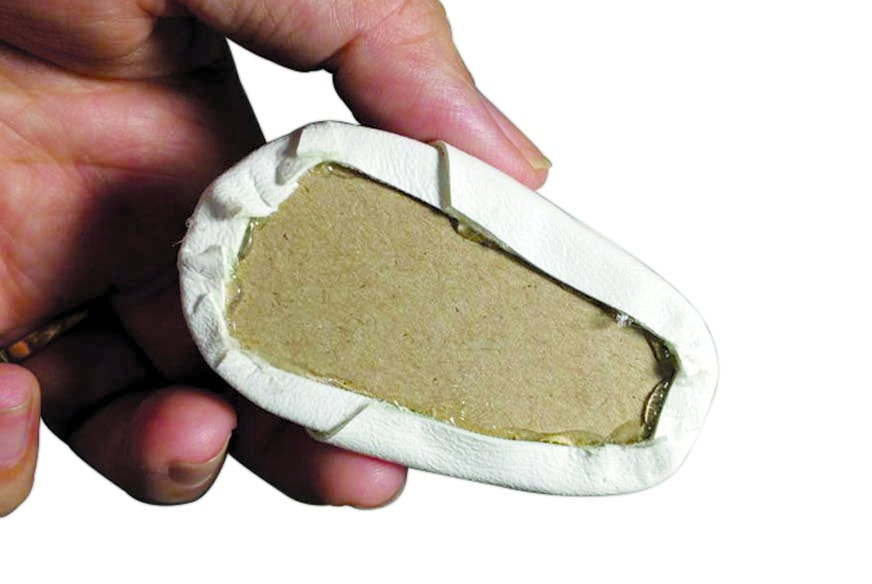
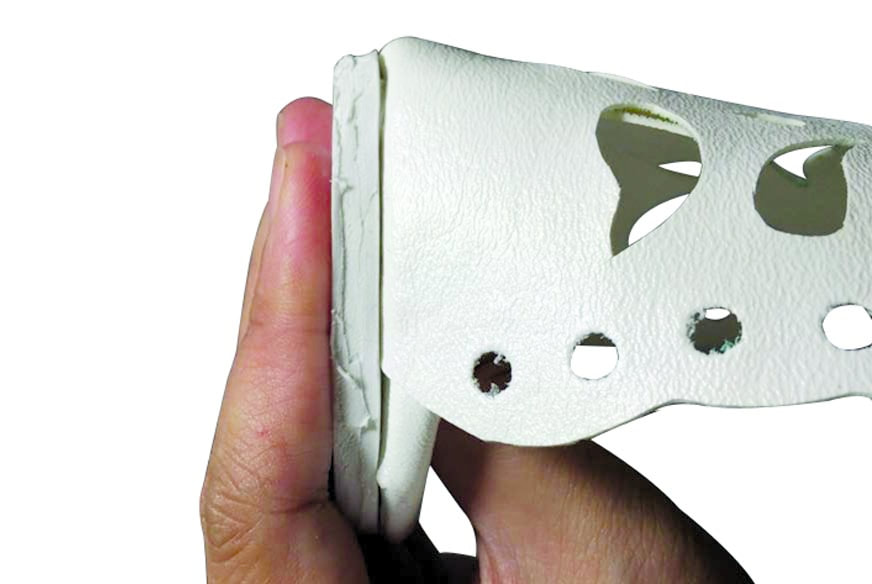
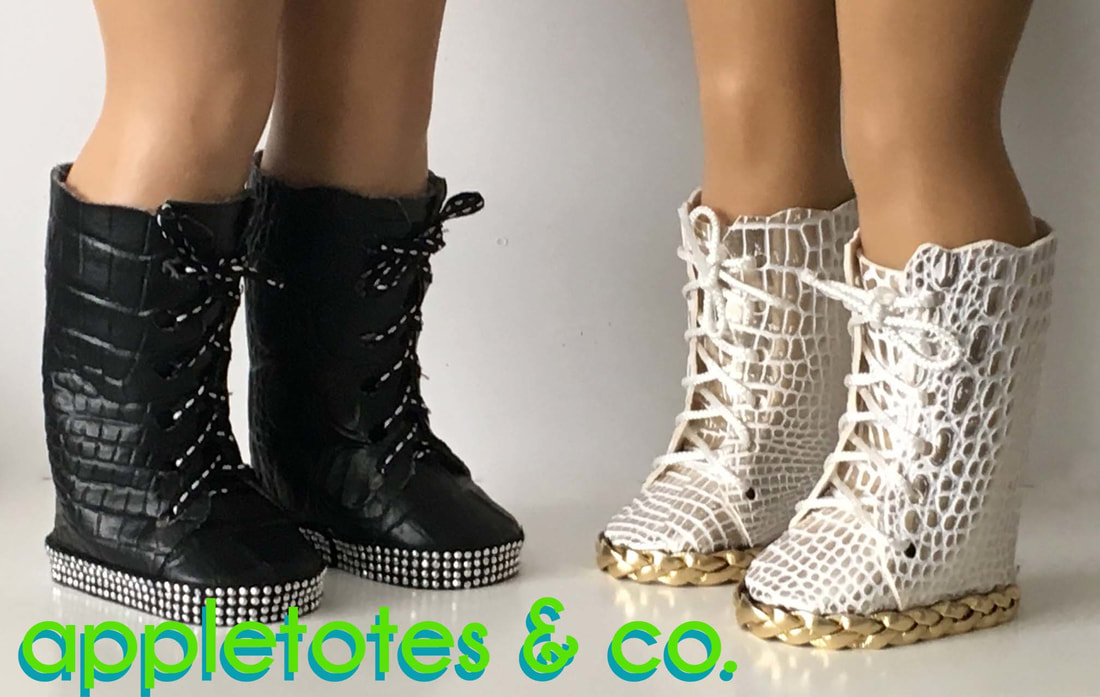
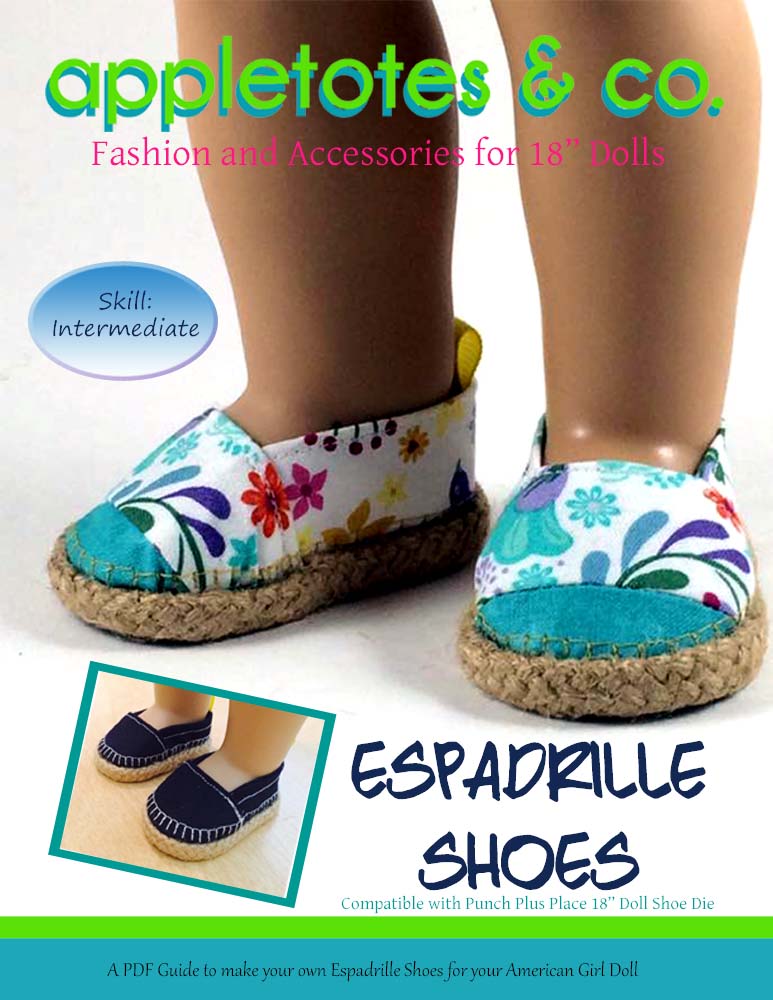
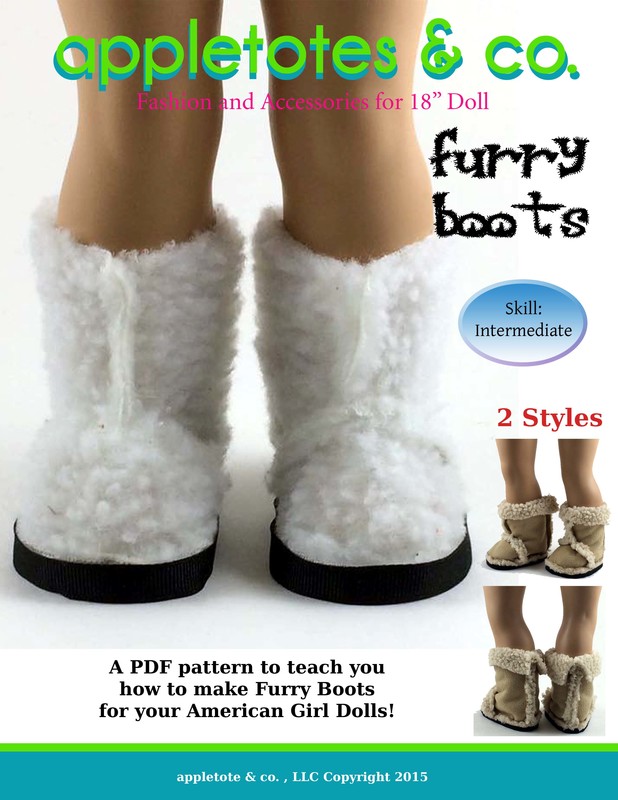
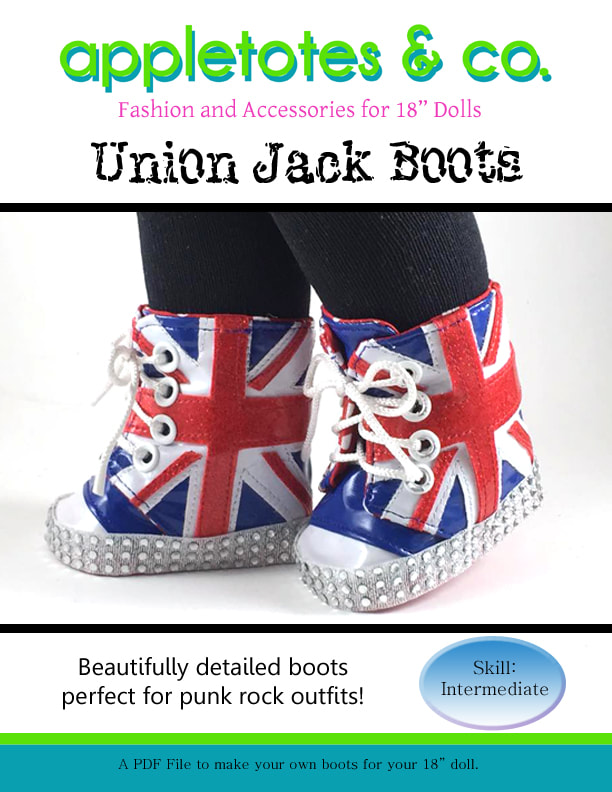
  Hello, hello! As promised, here's a free shoe tutorial using this Butterfly Boots pattern. This is a basic shoe construction for any doll footwear, whether it be shoes or boots. You will see how easy it is to do this, I promise. Let's talk about the boots pattern for a moment. The cut outs on the side of the boots are totally optional. Without the cut outs, they are your classic boots. Here are the materials you will need for this project: Vinyl or leather - I like Vinyl because it is inexpensive and relatively easy to find. Speaking of vinyl, do not use costume vinyl; it is too flimsy for this project. You want something sturdy. Leather scraps would also work well. As your local leather accessory makers if they have any scraps - you will only need about 10"x11". Trim (1/4" - 3/8" wide) - Grosgrain ribbon, braided trim, sequin trim or any other trim will work. Cardboard - Cereal or cookie box will work. 6mm foam - You can find this in craft stores. Glue - Alternately, I used rubber cement (please observe caution when using this type of glue, always use in a well ventilated room) and glue sticks. Always use glue sticks sparingly to avoid bulky glue residue in the shoe. Scissors Hobby Knife - Such as X-Acto® Knife Leather puncher Shoe laces of your choice - Ribbon or polycord. For the purposes of this tutorial, I have condensed the steps to the basics of shoe making. More details and tips are on the actual pattern. Are your ready? Let's do this!!
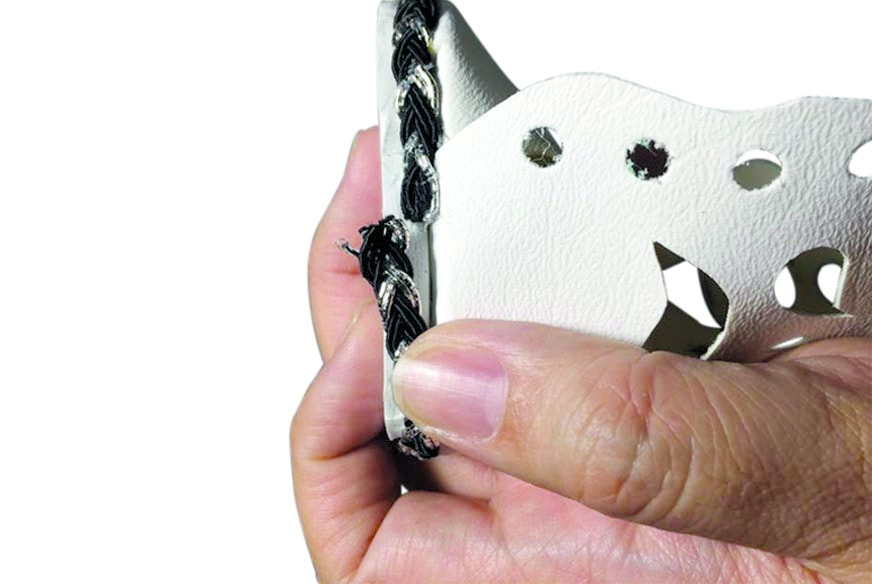
That's it! Your doll can now rock these new boots. Tip: I have a pair of old doll legs that I bought off of eBay that I use for shoe making. It helps when making shoes, acting as shoe lasts, when molding the shoes. Please see below for patterns that require no or optional sewing. You'll be surprised how addicting shoe making can be. Try it today! Related No Sew or Optional Sew Patterns
38 Comments
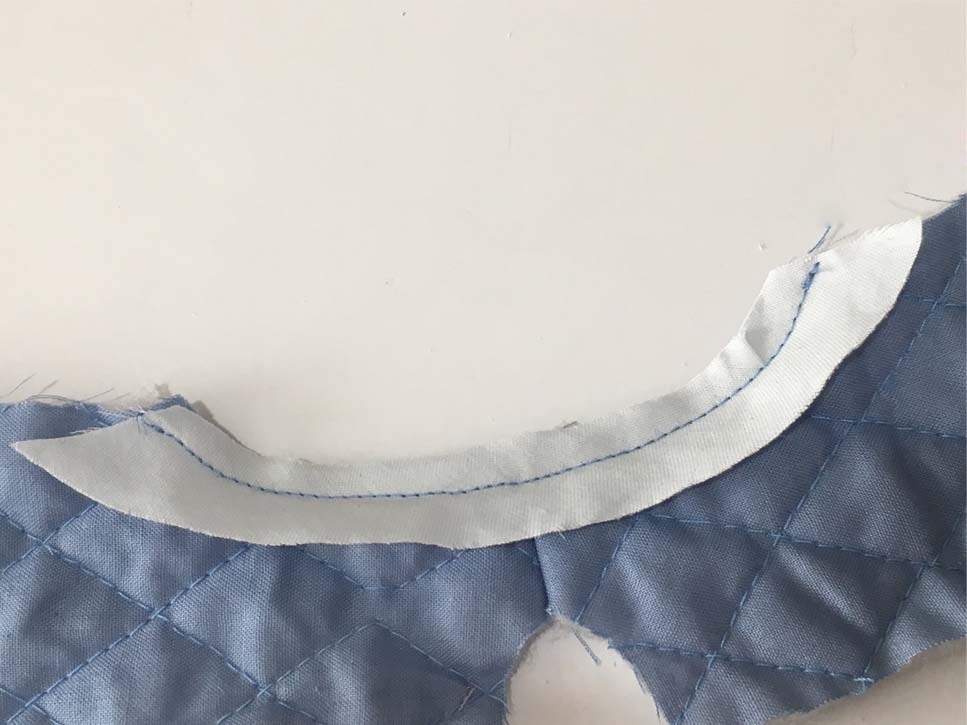
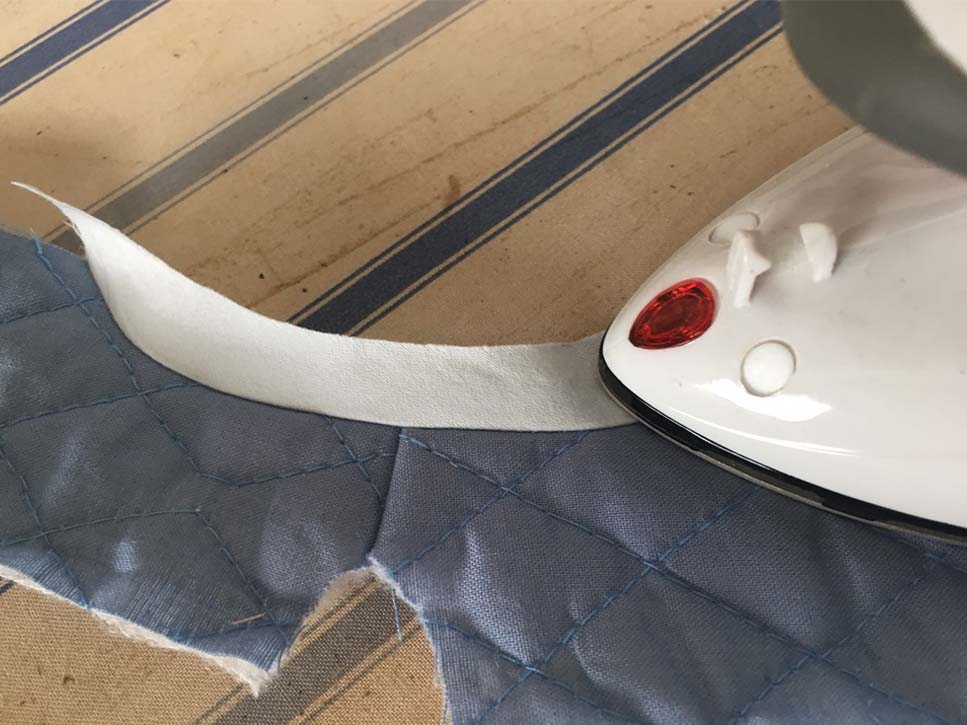
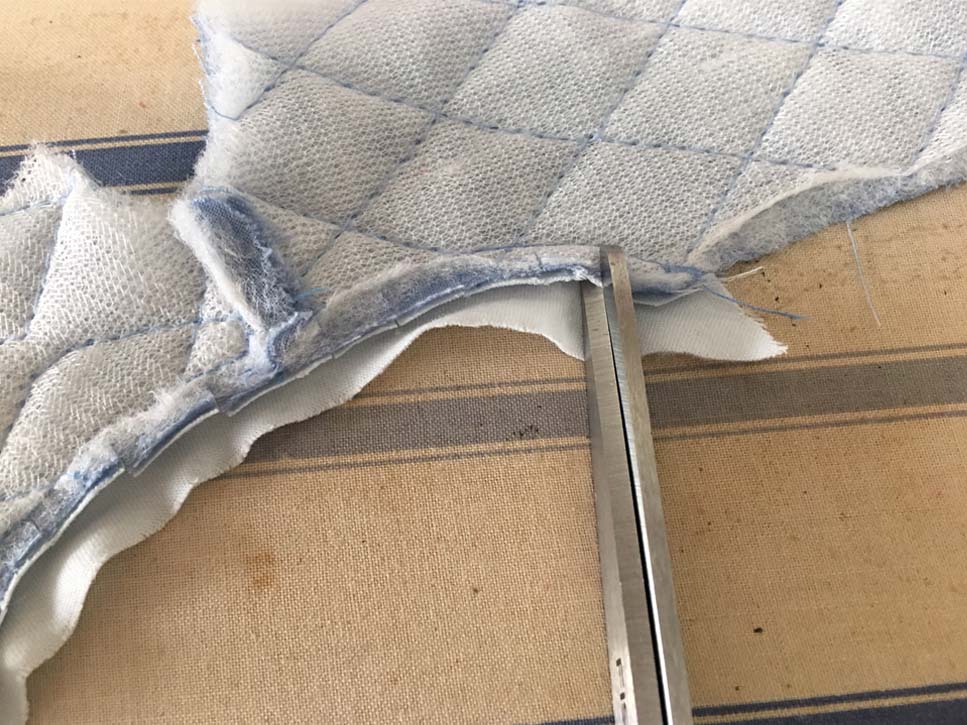
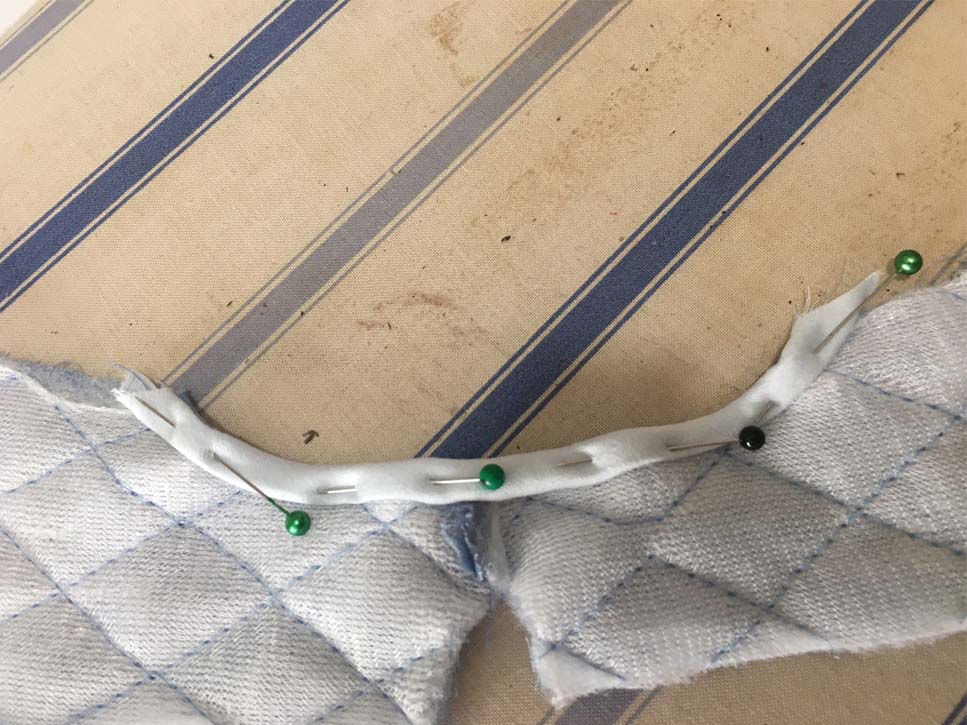
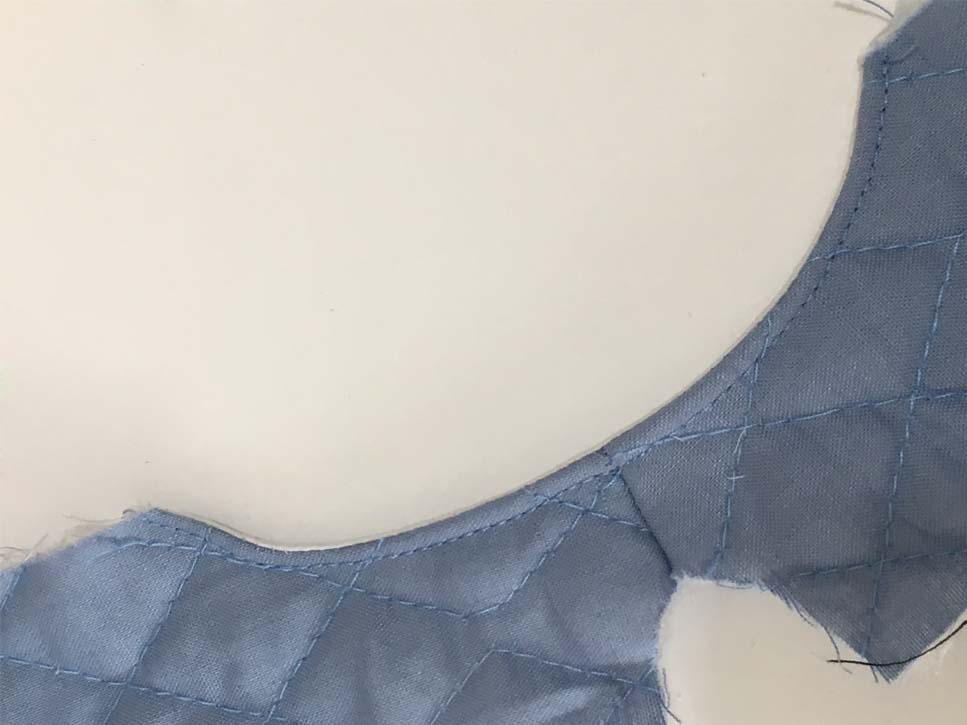
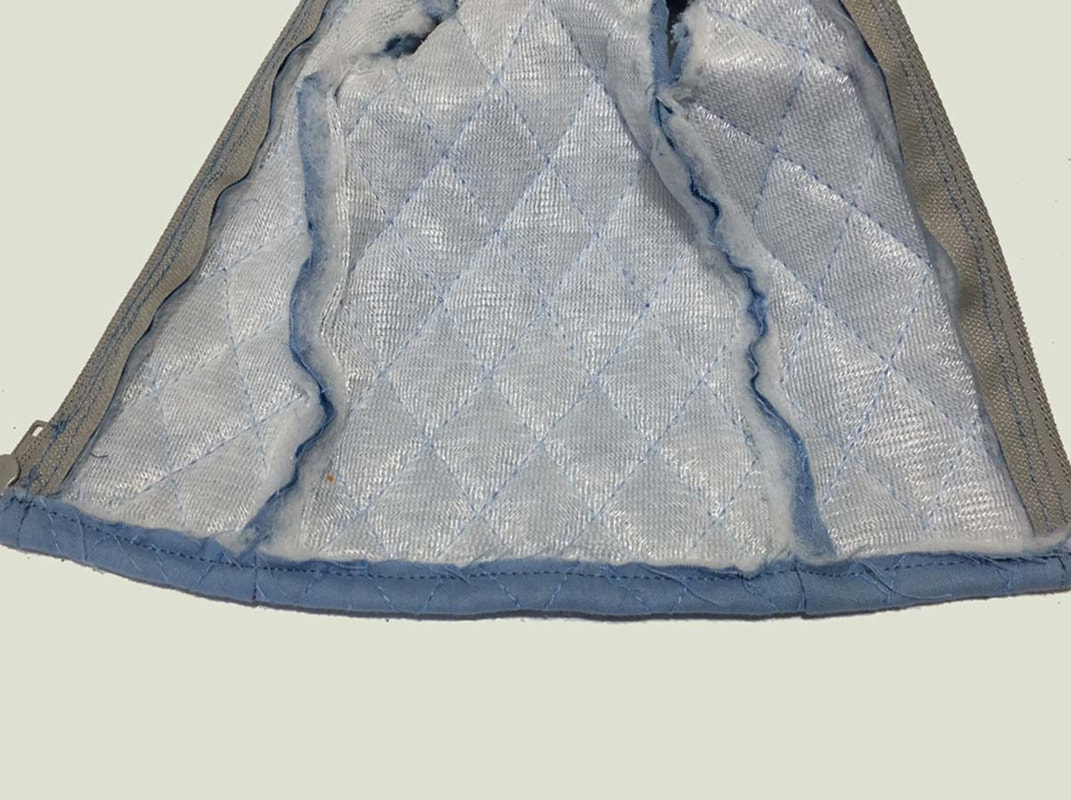
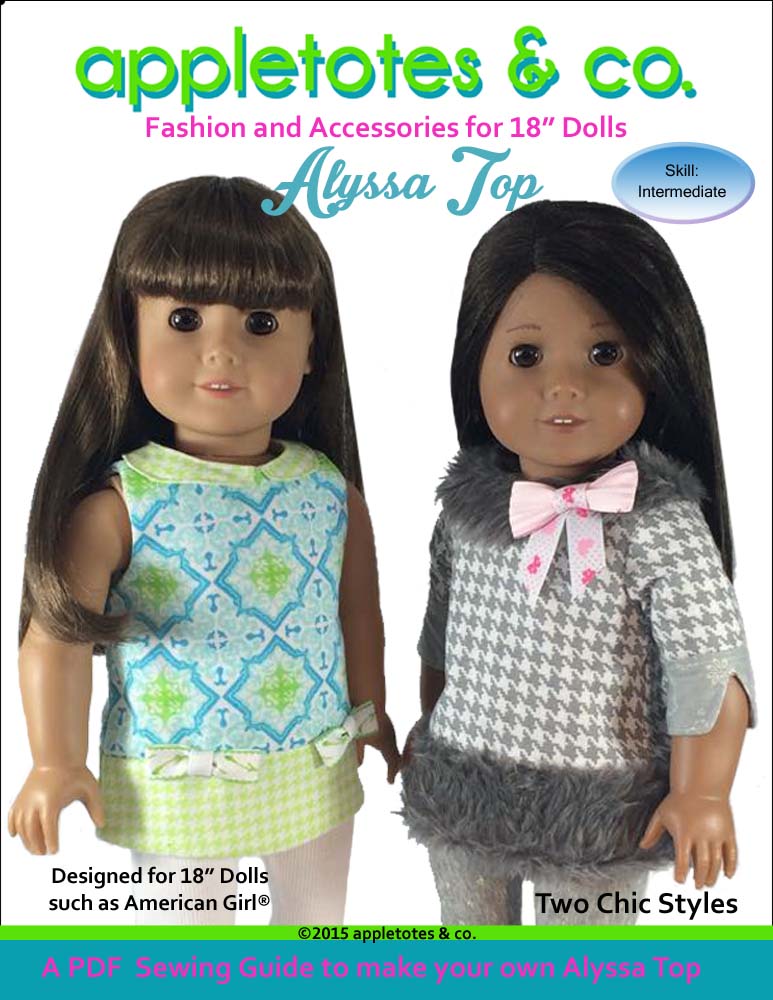
 When I first started drafting patterns, my least favorite was sleeveless tops. Although they are easier to draft, they required thoughtful finish than their sleeved counterpart. Do I add facing, lining or just fold it? The last solution is usually the easiest, although not an ideal finish since the raw seams are still exposed. Recently, I was drafting a quilted vest for 14" doll, I had this dilemma on how to finish the top without lining. The size of the garment posted a real challenge if sewn with a lining. One of my testers suggested a Hong Kong Seam finish. While it's a good option, there is still a raw edge on the underside so I came up with a slightly different approach. I'm sure this has been done before, I just don't know if there is an exact name for this kind of finish. Anyway, this is also an excellent alternative if you don’t want to use facings. Unlike traditional way of using the bias strip where the bias tape covers the raw seam entirely without raw seams showing, this method folds the seam allowance inwards. This way is best for patterns that were intended to have lining or facings. Keep in mind that you lose 1/4" seam allowance so do not do this with patterns that are supposed to be finished with a bias binding using the traditional method. We're going to use a bias strip to cover the raw edges. You can make your own by cutting a strip of fabric 45 degrees on the grain. Doll seam allowances are usually 1/4", so for this, we will need 3/4" bias strip. Note: on any other size seam allowance, you will always need x3 of whatever your the seam allowance is, so for example, if your seam allowance is 1/2", you will need 1 1/2".
Well, that's it! Easy peasy, right? Please see Related Patterns below on which this technique can be applied. Until next time, we'll talk about shoes! Yesssss, shoessss... I love making shoes. I will show you how easy it is to make them, even if you don't know how to sew! Oh and hey, don't forget to subscribe! Related Patterns
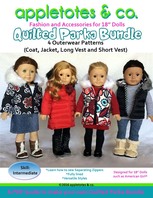
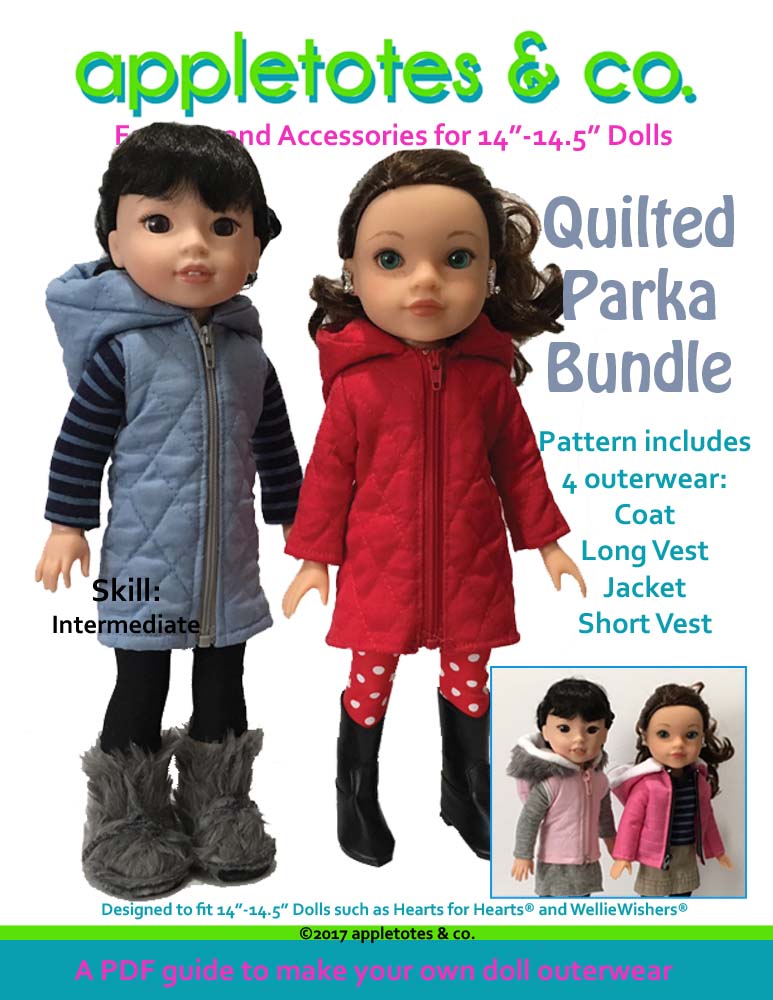
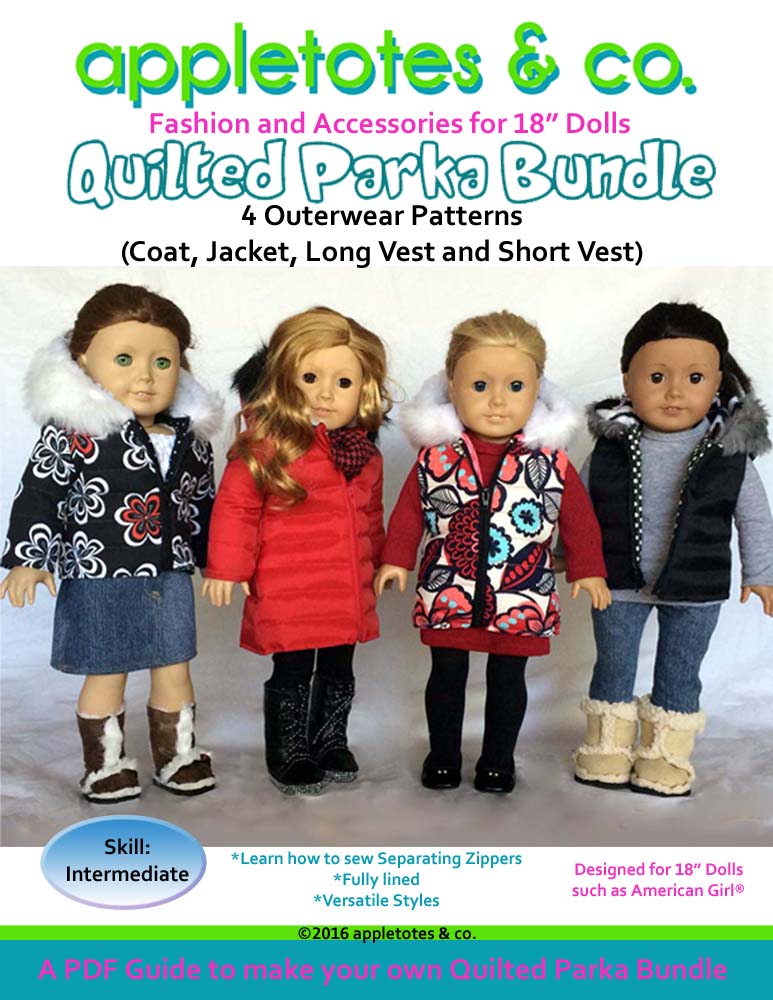
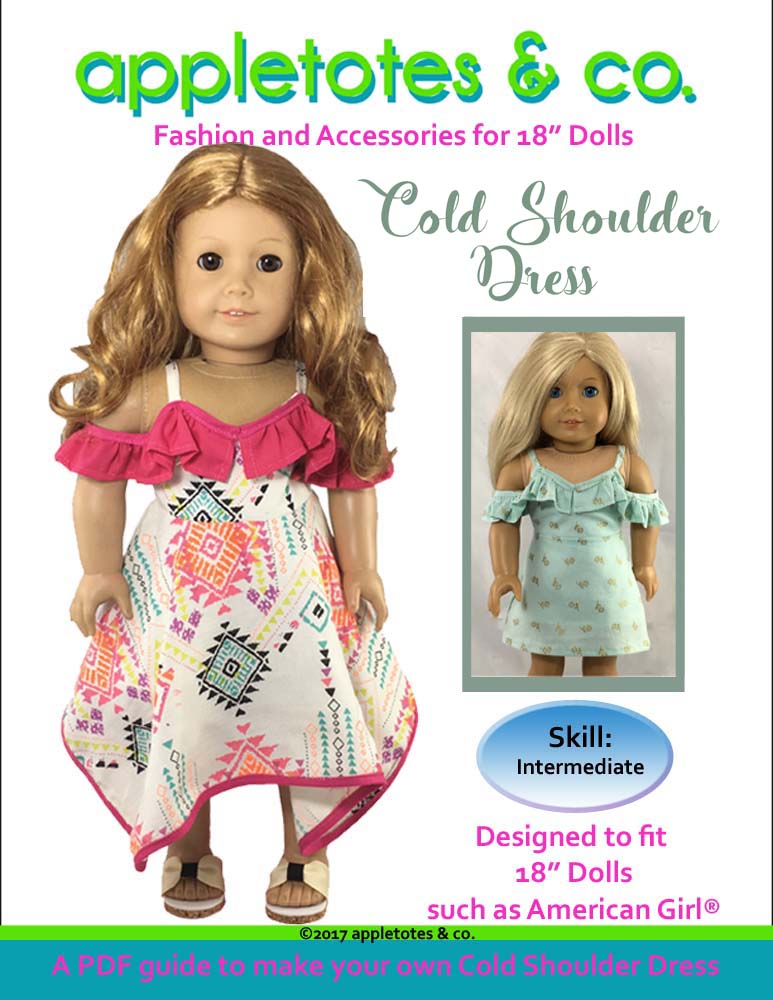
One of my most popular pattern is the Quilted Parka Bundle for 18" Doll. When I drafted the smaller size for 14" doll, I found it challenging to sew it with the lining. Linings can be time consuming with the added steps.
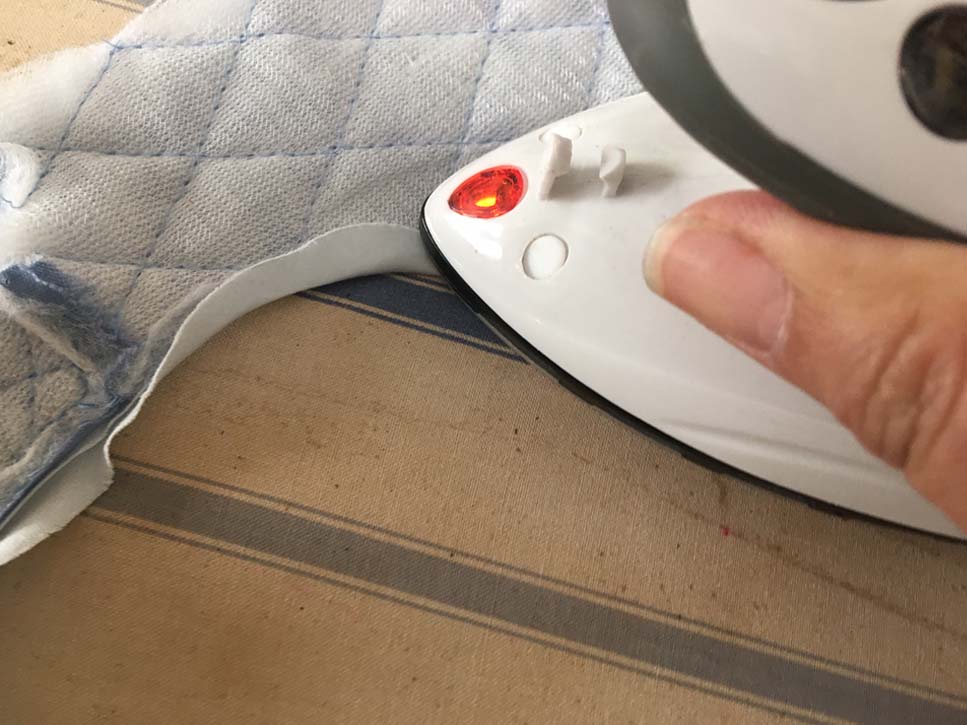
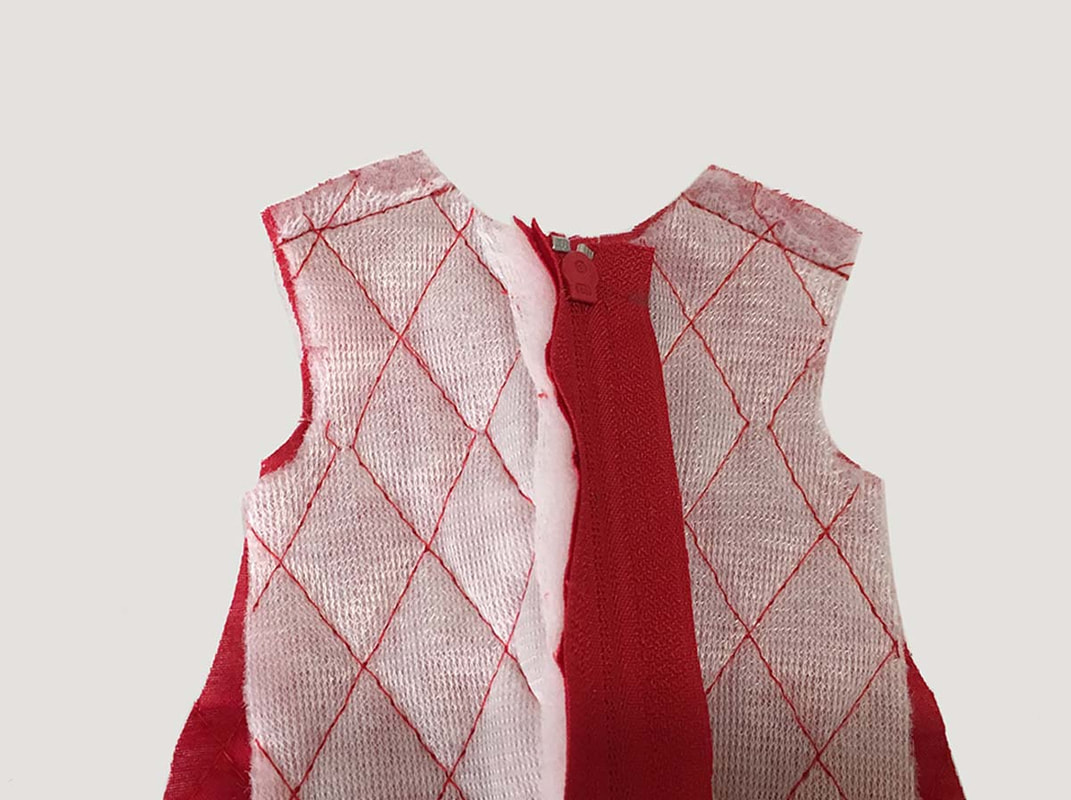
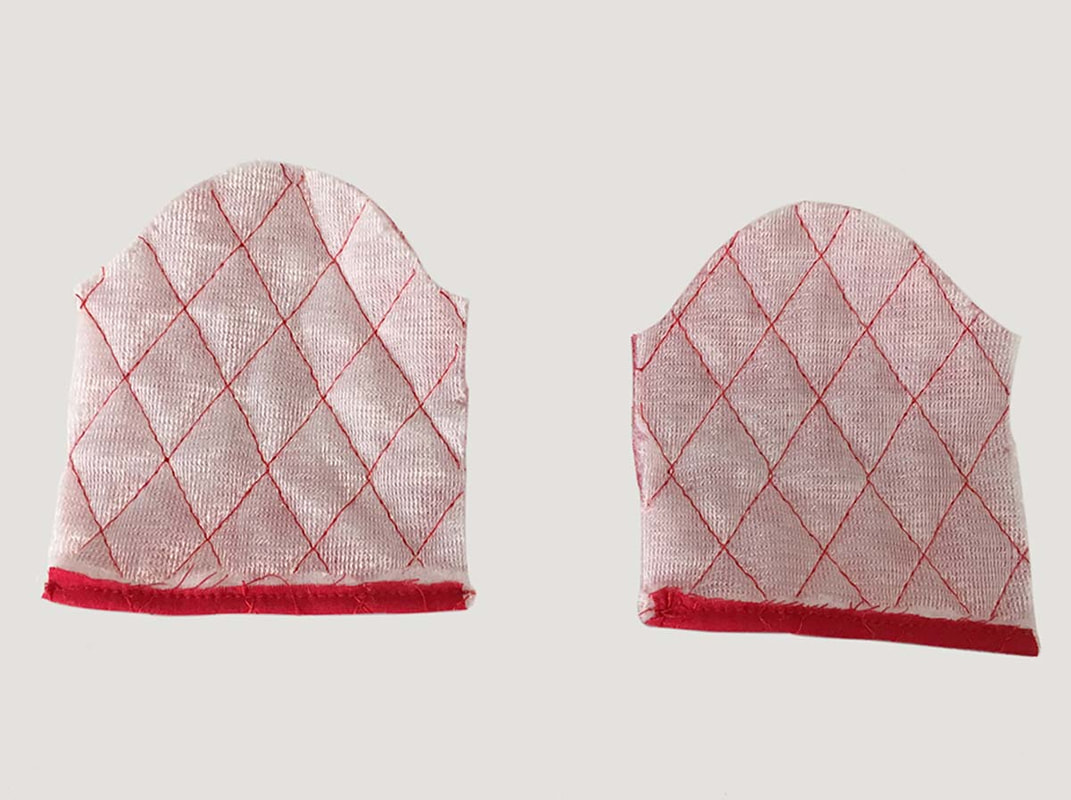
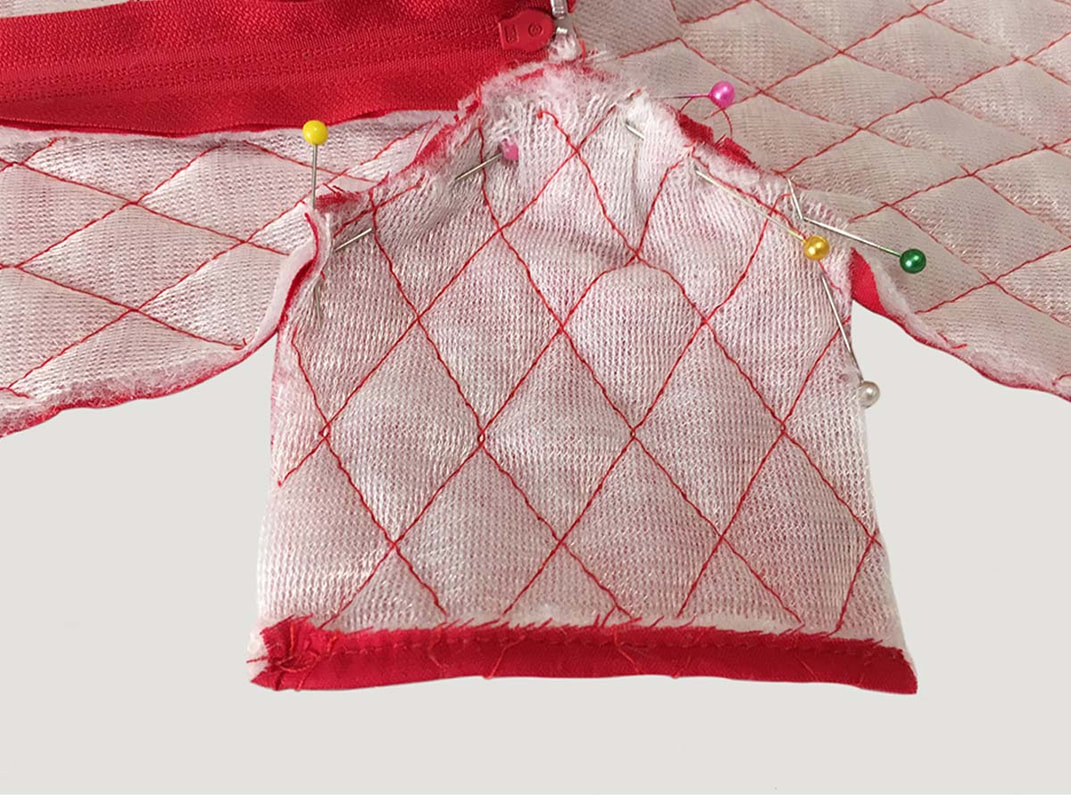
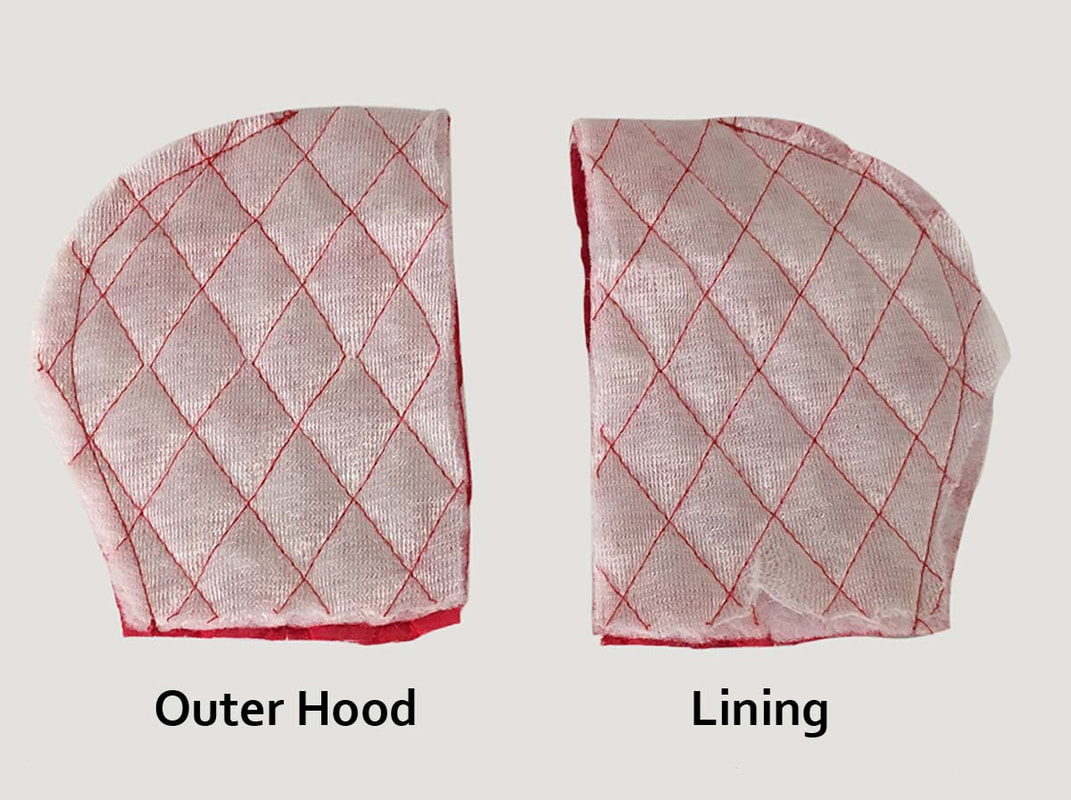
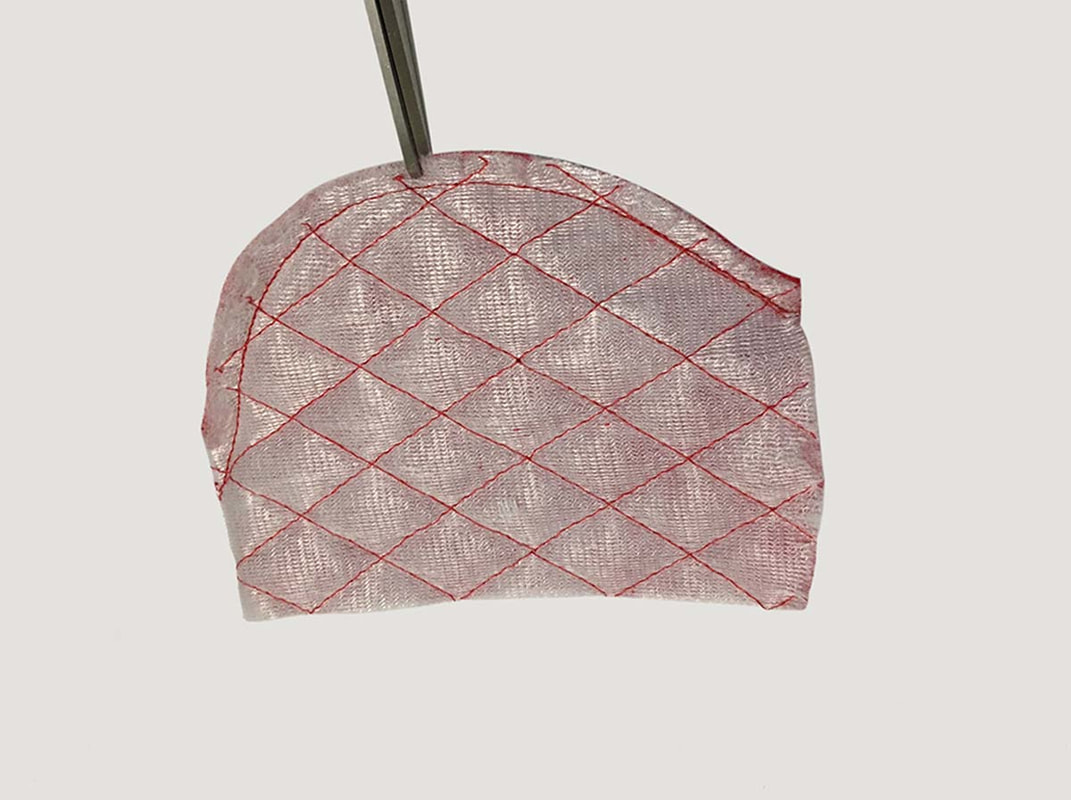
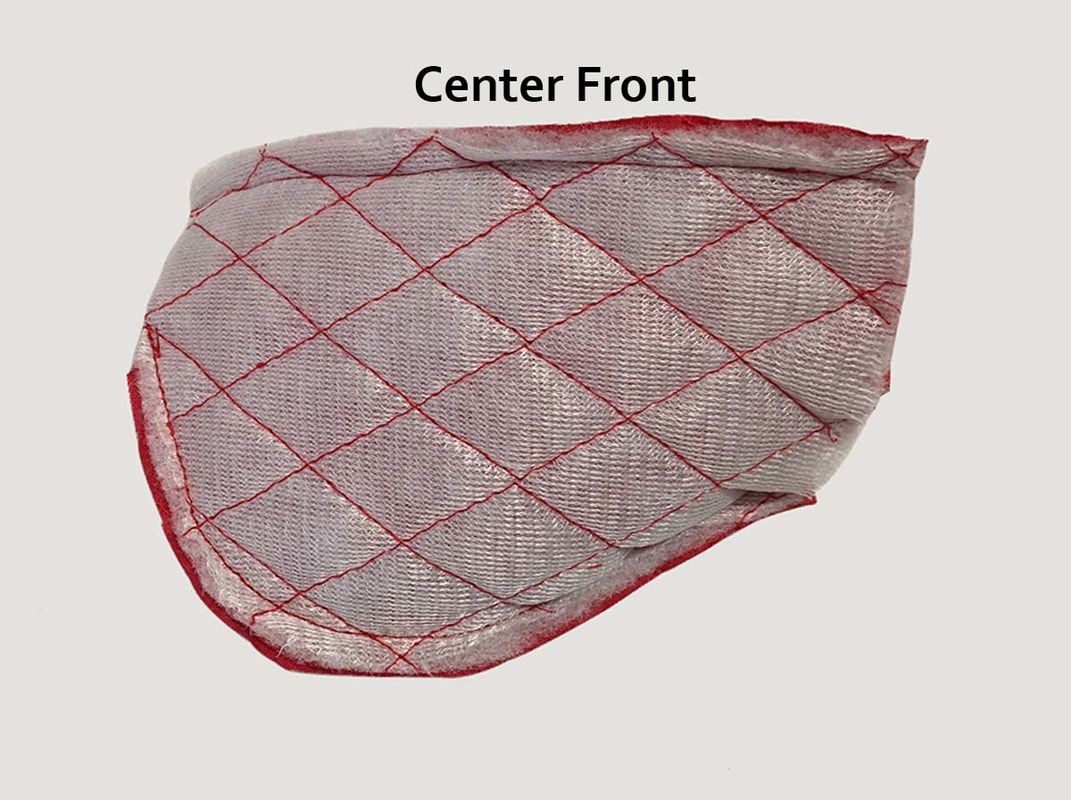
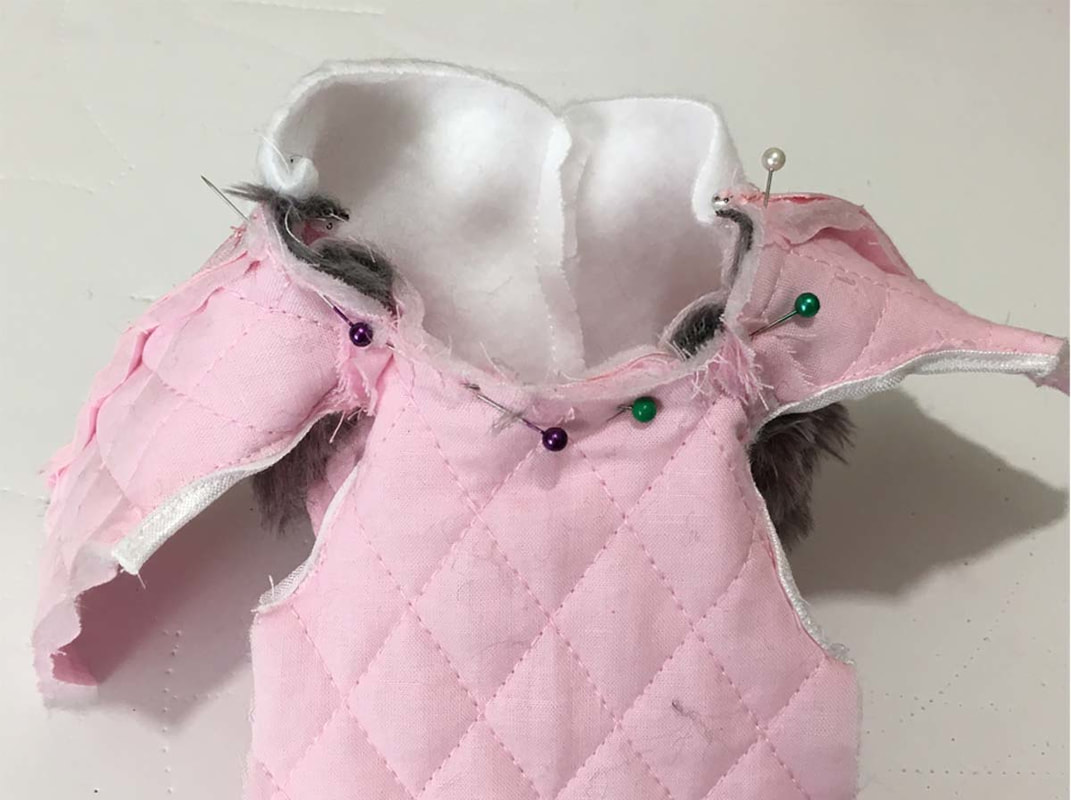
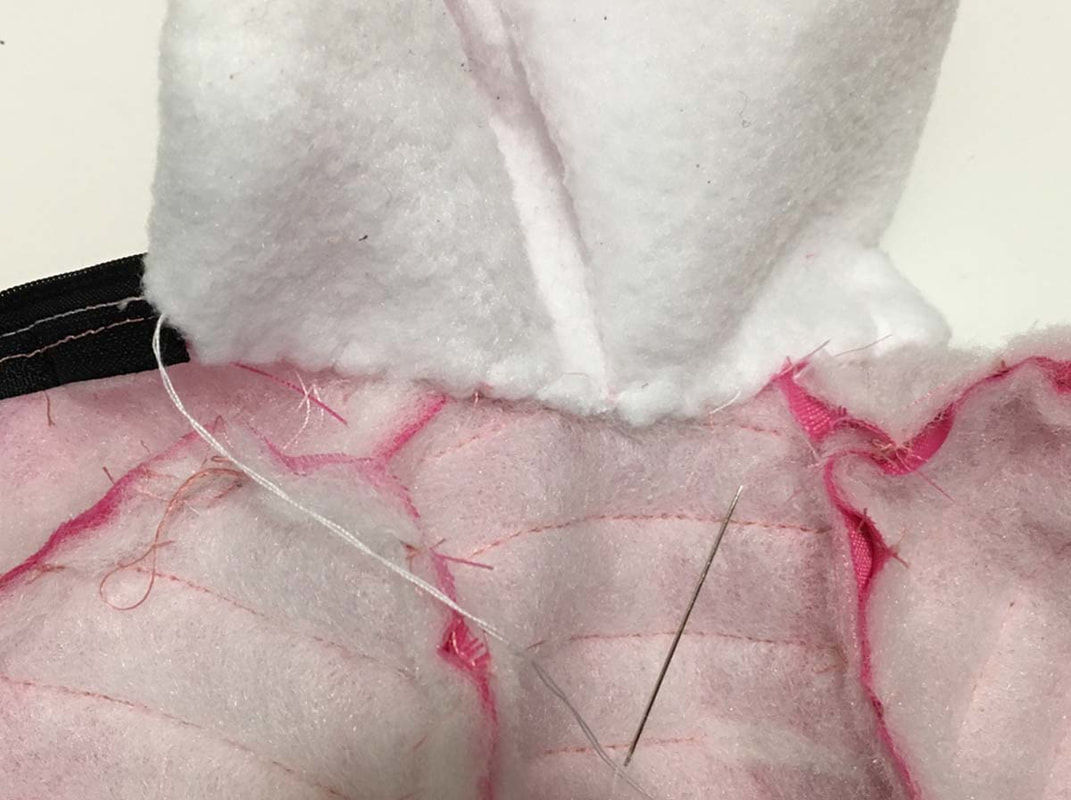
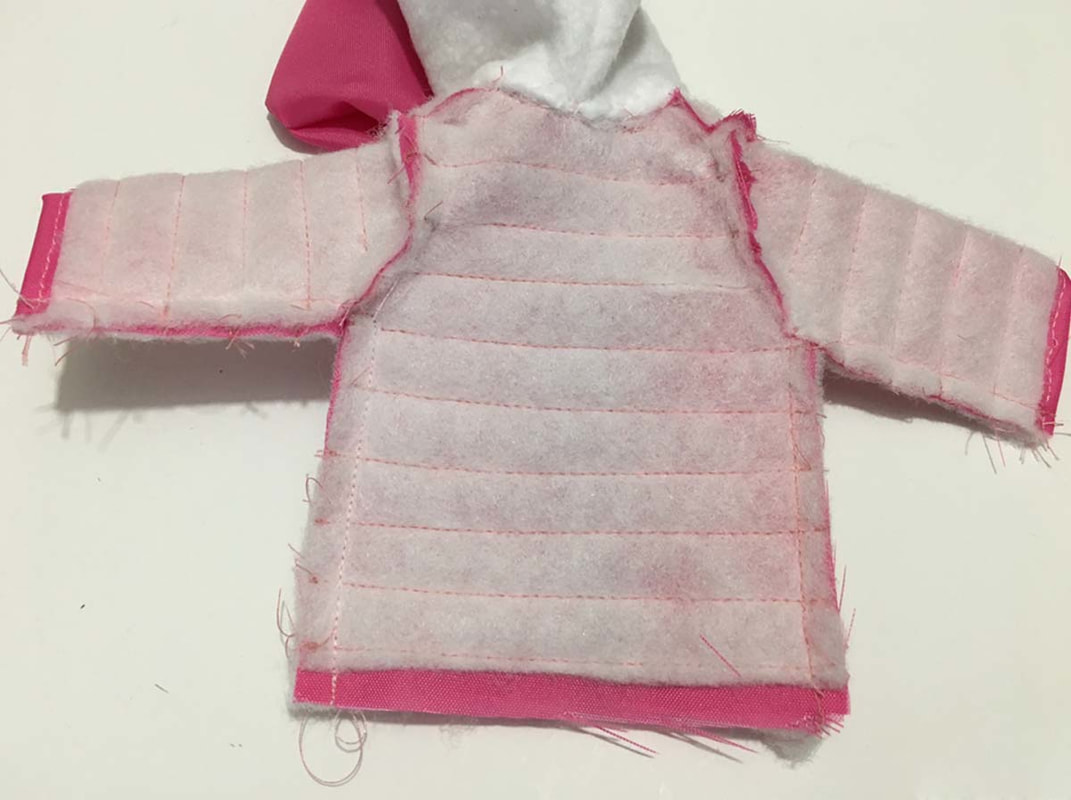
Personally, I love linings because they provide a cleaner finish on the inside of the garment. But, let's be frank, sometimes, you just want to finish a project! So I am here to show you how to sew this quickly and still look awesome. This pattern consists of 4 outerwear pieces: Coat, Jacket, Long Vest and Short Vest. For this hack, let's make the Jacket (which, by the way, is the same construction as the coat). I am using a pre-quilted fabric, instead of quilting it myself. Such a time saver! They are available in various colors and prints. They also come lined or unlined. So if you have this pattern, time to take some notes so you can make this easier version. Please refer to the pattern for particular details on some of the steps (example: zipper sewing details, seam allowance, etc). And if you don't have this pattern, just click here to get it now :) For the purposes of this blog, I also omitted the fur trim so as not to make this tutorial too long.
So how easy was that? I hope you you found this tutorial helpful and please share your finished creations on our Facebook Page. By the way, if you don't have the patterns mentioned above, please see below to purchase. If you have any questions, please direct them [email protected], we'll be happy to help! Next time, I will tackle the clean finish for the vest. Don't forget to subscribe!
Related Patterns
|
Welcome to Appletotes & Co. Blog where find tutorials and hacksHere's a preview of some of our patterns
|